Barry M is a brand known for its exciting, affordable and good quality nail polishes. I have never owned a colour from Barry M that I didn't like, and at £2.99-£3.99 a pop if you found a shade that you didn't suit you couldn't get angry at the seemingly throw away price. In the past it seems to have become my sole mission to obtain each and every Barry M colour and effect nail polish and when they brought out the mock croc nail effects polish as a development from the crackle effects and the foils effects range I just knew I had to have a go (bought on ASOS
here).
 |
| Different Nail Stages. |
So I decided to pair my croc effect with Barry M's Fuchsia nail polish (available
here - scroll down the page a bit), which was not the obvious choice, clearly I should have gone for a green for a proper crocodile effect but alas I don't actually own a green polish, need to sort that out tout suite!
I did decide to follow the instructions on the bottle religiously and have to admit it was a bit tricky at first (that the nail you see on the far left in the picture here had to be wiped off and reapplied!). It says to apply your base colour and wait until it becomes 'tacky'. Now what a tacky nail looks like is beyond me so I gently touched the tip of the nail to see if the colour would come off on my finger. If it did it needed longer drying time, if it didn't and left a tiny fingerprint indent I decided it was time for croc application. (I didn't really mind about the fingerprint indent, after all you're covering it with the croc effect and won't be able to see it!)
 |
| Drying Time |
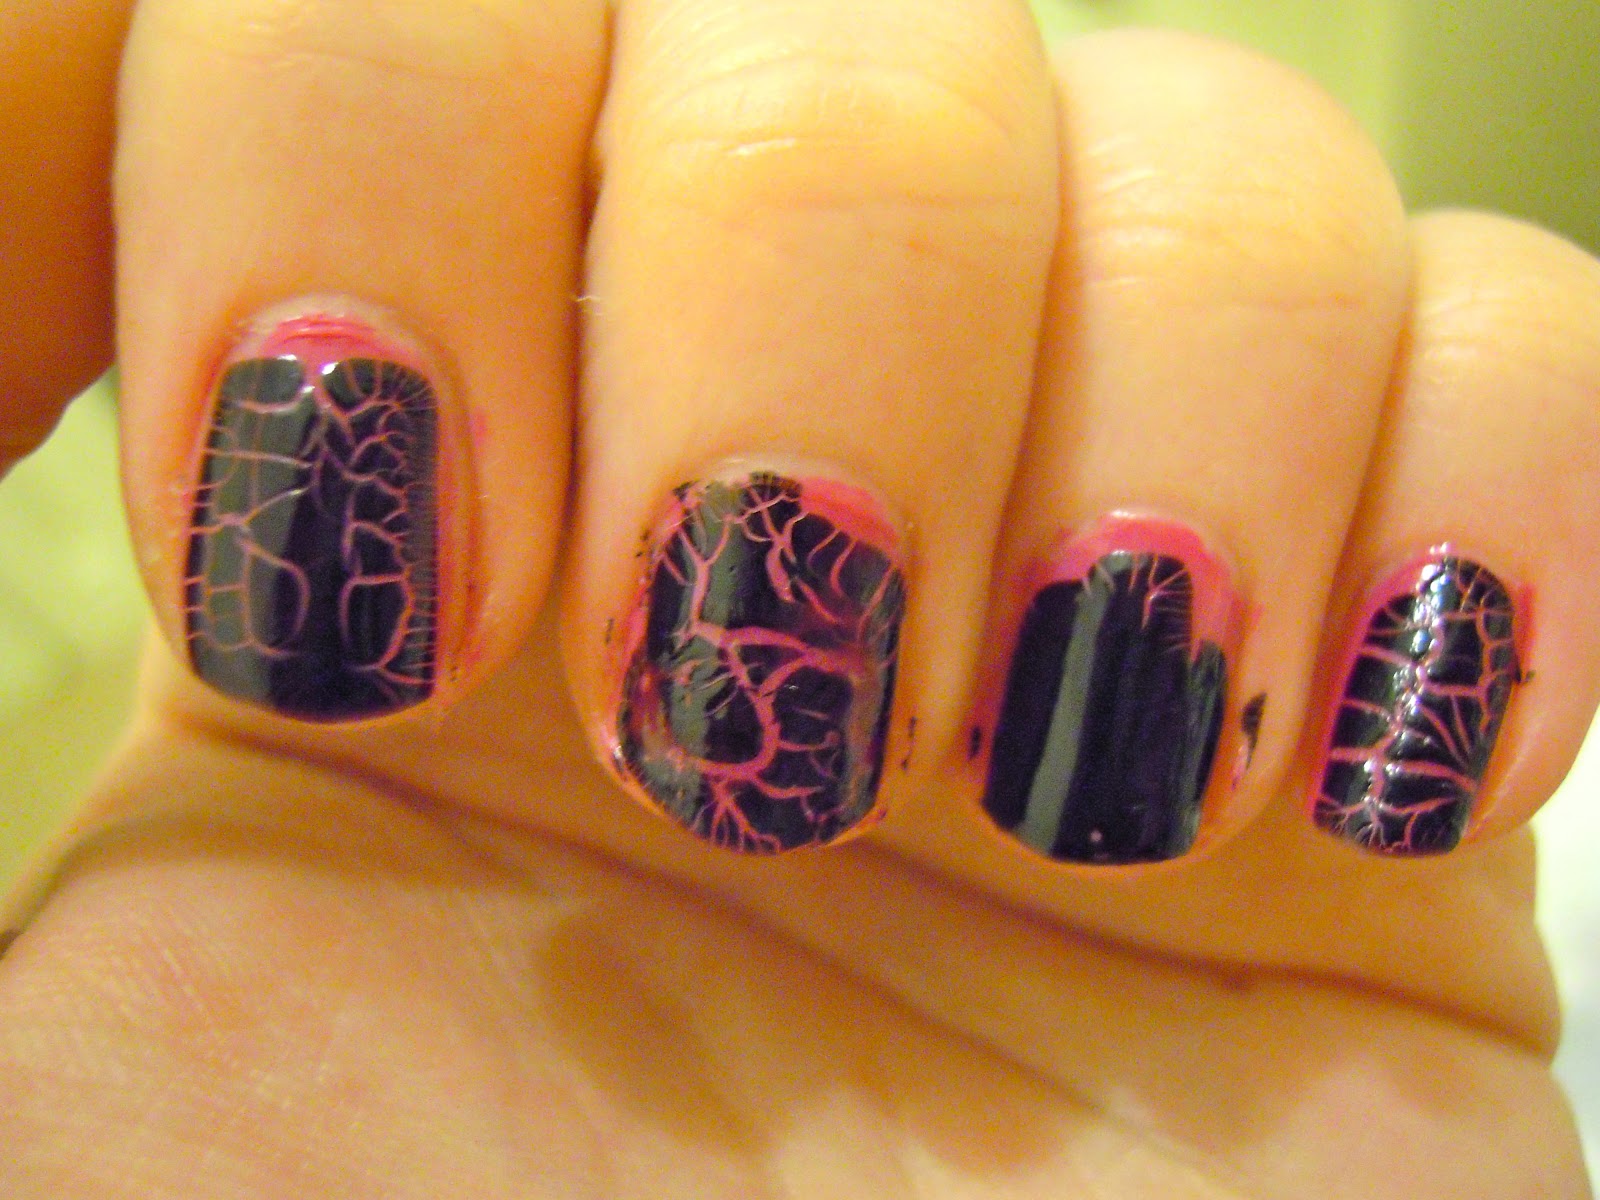
Here's where it got more tricky (moreso than wondering if my Fuchsia brights were tacky enough in a good way!). Once the base colour is suitably applied then it's time to apply the nail effect layer. Like its predecessors, the crackle effects, the croc effect is painted right on top of the base layer which can seem a little scary when you're putting a big black blob on top of a gorgeous colour but fear not! This picture shows the different stages of the effect during the prescribed 3 minute wait time for the effect to fully develop, centre left nail was first painted, then pinkie, then index finger, and finally my ring finger's effect is just starting to come through.
 |
| All Fingers Dry |
Finally, my fingers are lovely and croc-ified! I absolutely love the fact that each nail looks different and each application will always look different, it depends on the thickness of the effect on the base layer. Barry M recommends a thin layer because as I mentioned above I had to remove a finger and start again 'cause I layered it on too thick and nothing happened. But once you have that sussed and sorted you're on your way to beautiful croc effects nails!
 |
| Best Effect On My Thumb! |
 |
| Finished Nails |
My favourite design on my fingers is my thumb above. What do you think of the croc effects nail polish from Barry M? Have you tried it? Are you tempted?


No comments:
Post a Comment
I read and appreciate every single comment that you write :-) Thank-you for taking the time to stop by and write me a note Louise xx